Maori
- Afrikaans
- Albanian
- Amharic
- Arabic
- Armenian
- Azerbaijani
- Basque
- Belarusian
- Bengali
- Bosnian
- Bulgarian
- Catalan
- Cebuano
- Corsican
- Croatian
- Czech
- Danish
- Dutch
- English
- Esperanto
- Estonian
- Finnish
- French
- Frisian
- Galician
- Georgian
- German
- Greek
- Gujarati
- Haitian Creole
- hausa
- hawaiian
- Hebrew
- Hindi
- Miao
- Hungarian
- Icelandic
- igbo
- Indonesian
- irish
- Italian
- Japanese
- Javanese
- Kannada
- kazakh
- Khmer
- Rwandese
- Korean
- Kurdish
- Kyrgyz
- Lao
- Latin
- Latvian
- Lithuanian
- Luxembourgish
- Macedonian
- Malgashi
- Malay
- Malayalam
- Maltese
- Maori
- Marathi
- Mongolian
- Myanmar
- Nepali
- Norwegian
- Norwegian
- Occitan
- Pashto
- Persian
- Polish
- Portuguese
- Punjabi
- Romanian
- Russian
- Samoan
- Scottish Gaelic
- Serbian
- Sesotho
- Shona
- Sindhi
- Sinhala
- Slovak
- Slovenian
- Somali
- Spanish
- Sundanese
- Swahili
- Swedish
- Tagalog
- Tajik
- Tamil
- Tatar
- Telugu
- Thai
- Turkish
- Turkmen
- Ukrainian
- Urdu
- Uighur
- Uzbek
- Vietnamese
- Welsh
- Bantu
- Yiddish
- Yoruba
- Zulu
Telephone: +86 13120555503
Email: frank@cypump.com
Dec . 06, 2024 10:45 Back to list
Installation Guide for Sewage Submersible Pumps in Wastewater Management Systems
Installation of Sewage Submersible Pumps A Comprehensive Guide
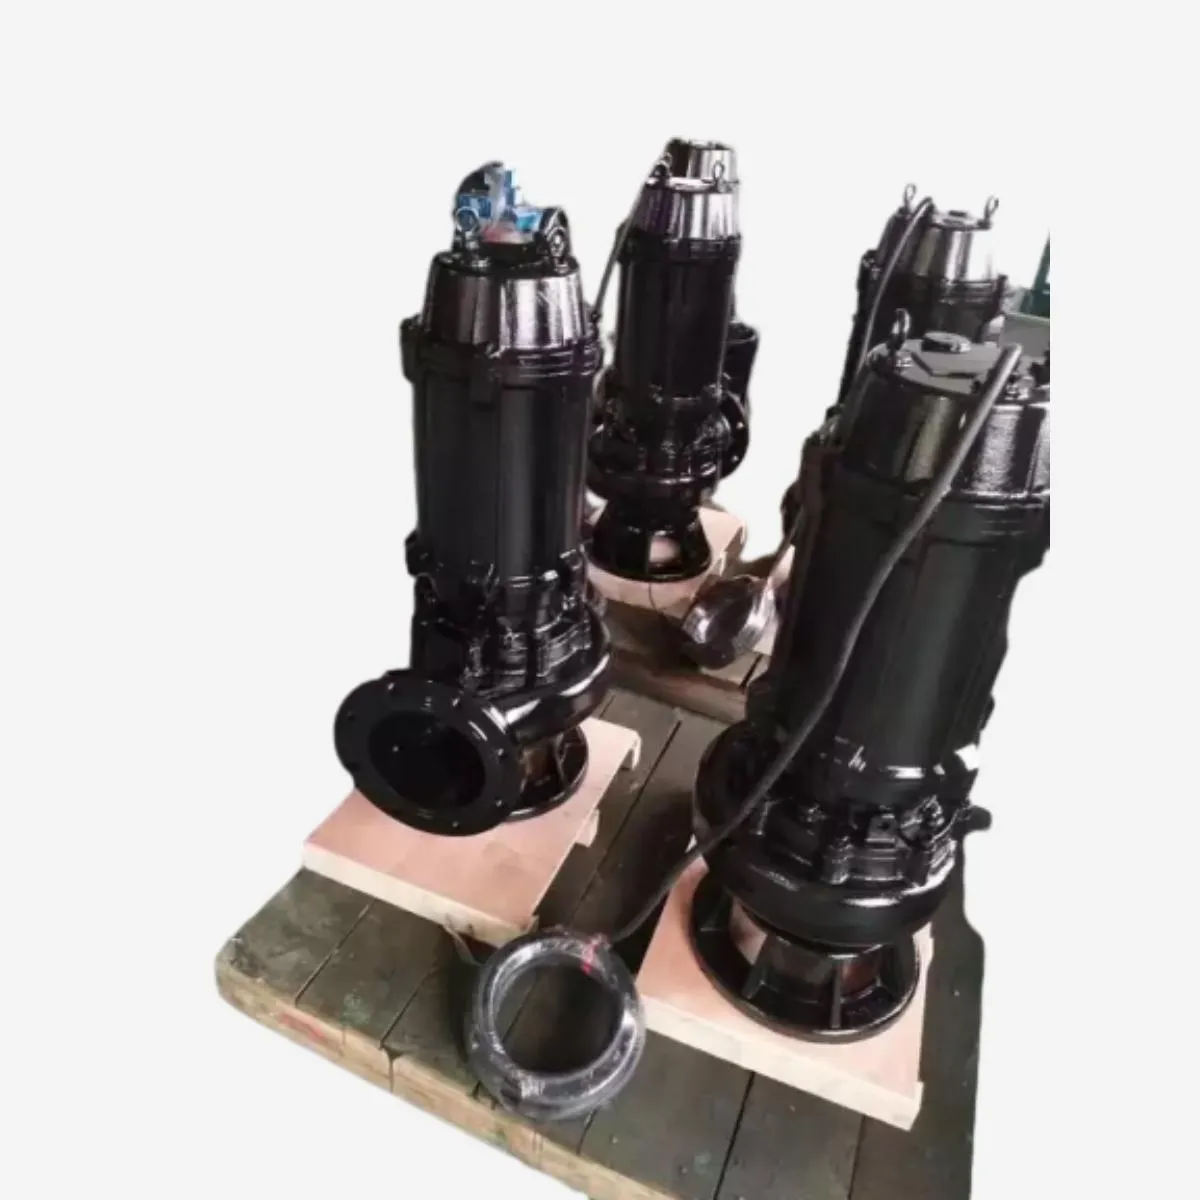
Sewage submersible pumps have become an essential part of modern wastewater management systems. These pumps are specifically designed to be submerged in sewage and wastewater, making them ideal for lifting and transporting fluids from lower to higher elevations. Their installation, however, requires careful planning and execution to ensure optimal performance and longevity. This article will provide a comprehensive guide to the installation process of sewage submersible pumps.
Preparation Planning and Choosing the Right Pump
Before installation begins, it is crucial to determine the specific requirements of your application. Factors to consider include the type of sewage, the volume of waste water, the required flow rate, and the lift height. Selecting the right pump is imperative; submersible pumps come in various sizes and horsepower ratings to accommodate different needs. Consulting manufacturer specifications or an experienced engineer can help you make the right choice.
Additionally, it is essential to assess the site where the pump will be installed. Ensure that there is adequate space for the pump itself, and that access is available for maintenance and service. The site should be free from any debris or structures that might impede installation or future access.
Installation Steps
Clear the area where the pump will be installed. Excavate a pit that is deep enough to accommodate the pump's base and any necessary plumbing. The pit should have a sturdy foundation to support the weight of the pump and prevent shifting. The walls of the pit should be reinforced, depending on the soil conditions to ensure stability.
2. Electrical Connection
Before plumbing the pump, electrical work must be done. Electrical cables should be routed carefully to avoid contact with water. It’s recommended to use a waterproof junction box and to ensure that the wiring adheres to local electrical codes. Always consider the need for a disconnect switch to allow for safe service and maintenance.
sewage submersible pump installation

3. Pipe Installation
The discharge pipe should be installed, ensuring it has a consistent slope to facilitate proper drainage. Use appropriate fittings and seals to prevent leaks. When connecting the pump to the discharge pipe, ensure that the seals are watertight. Flexible connections may be considered to reduce strain on the piping system due to vibrations from the pump.
4. Pump Placement and Anchoring
Lower the pump carefully into the pit; it should be positioned according to the manufacturer’s recommendations. Ensure that the pump is securely anchored to prevent movement during operation. Many pumps come equipped with mounting brackets or anchors designed for this purpose.
5. Testing the System
Once the pump is installed, conduct a thorough test of the system. Check for any leaks in the piping system and confirm that the electrical connections are functioning correctly. Test the pump by turning it on to ensure it operates smoothly and efficiently. Observe the flow rate and pressure to confirm it meets the expected performance levels.
6. Regular Maintenance
Post-installation, regular maintenance is crucial to prolong the life of the pump and ensure efficient operation. Create a maintenance schedule that includes inspection of the electrical system, cleaning of the pump, and checking for wear and tear on components.
Conclusion
The installation of sewage submersible pumps is a critical process that requires careful planning and execution. By considering site conditions, selecting the right pump, and following a structured installation process, you can ensure a successful setup that operates reliably for years to come. Regular maintenance further enhances the pump’s performance, helping to protect your investment in wastewater management infrastructure. Properly installed and maintained, sewage submersible pumps play a vital role in effective waste management, serving communities across the globe.
-
Slurry Pump Impeller Design - High Efficiency & Wear-Resistant Solutions
NewsJun.08,2025
-
Durable Slurry Pump Rubber Throat Bush OEM Wear-Resistant Parts
NewsJun.08,2025
-
Top Submersible Pump Supplier Durable & Efficient Solutions
NewsJun.08,2025
-
20 HP Submersible Sewage Pumps - Hot Sale & Competitive Quotes
NewsJun.08,2025
-
Premier Centrifugal Slurry Pump Manufacturers Durable Solutions
NewsJun.08,2025
-
Axial Flow Pumps High-Efficiency for Large Water Flow Applications
NewsJun.08,2025


